


Concerned about the quality of your city water? Want to know how to test it? You're in luck — we're here to help! I'm Gary the Water Guy, and my mission is to simplify water filtration so you can conquer any water quality issues in your home.
In today's blog post, you'll discover everything you need to know about testing your city water for contamination and how to ensure it's safe for you and your family. I'll share what you need to do, where you need to go, and explain the testing process from beginning to end!
WATER QUALITY TESTING: WHERE TO BEGIN
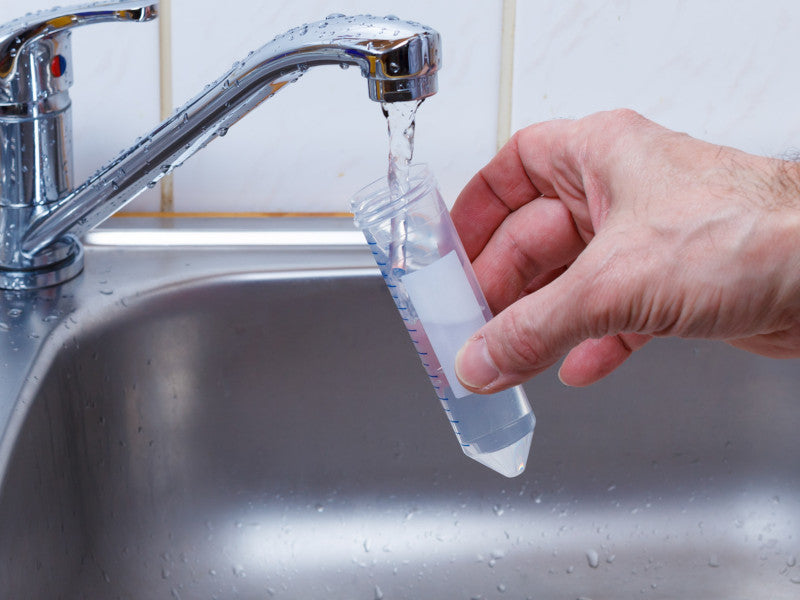
The first step in addressing concerns about your city water is to have it properly tested.
Follow along as I guide you through the testing process from start to finish and also highlight common water sampling mistakes to avoid, based on valuable insights from the experts at the lab. Make sure to read this blog post to the end for some Pro Tips—it's information you won't want to miss!
In this city water testing guide, I'll help inform you on what steps to take for your city water testing so you have a clear understanding of how to submit a sample for testing, interpret the results, and use them to determine the necessary steps to improve your family's water quality. So, let's dive in and ensure your family has access to safe and clean water!
GET A CITY WATER TEST KIT

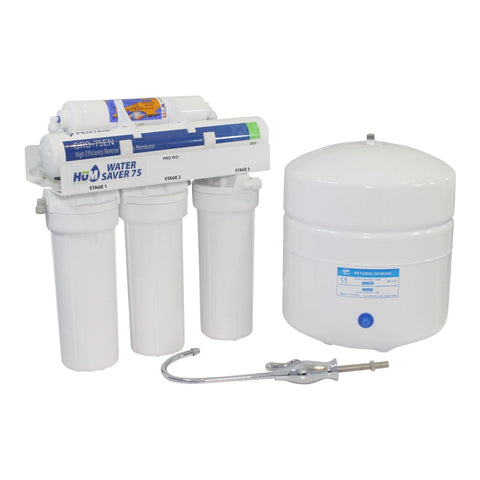
The pros at Tap Score bring together the trustworthiness of a top-tier laboratory network with the convenience of do-it-yourself kits, offering a straightforward, swift, and reliable way to test your drinking water. Whether you're concerned about your home's water quality or need to ensure the safety of your business' drinking water supply, their approach makes the testing process easy, efficient, and based on solid facts.
Tap Score offers free shipping of the test kits both ways — to you and back to the lab — for added convenience and they offer a number of tests for every situation with easy-to-follow instructions. Also, they use a network of labs, so your shipping label is customized to your location and test kit for optimal speedy service.
Once on their site, you might see a popup where you click to choose your country. If so, select it. Then select your water source. Since we’re doing city water testing, choose that option!
As you can imagine, the more complex the test, the more it costs.
But, unless you have a very unique situation, to fix your water and protect your family, you really just need to know your water’s:
- TDS or Total Dissolved Solids
- pH
- Fertilizers – Nitrate, Arsenic, Iron, Lead, Manganese, Fluoride, Hardness, Sodium and Chlorine
Most likely you’ll start with the Essential City Water test, as I did.
HOW TO CHOOSE THE CORRECT WATER TEST KIT

PRO TIP #1
Make sure you check out the list of what each test includes to make sure what you’re looking to have your water tested for is included in the test kit you purchase.
PRO TIP #2
Don't choose trendy contaminants over the core kits. The core kits were designed with contaminant prevalence, health risks and budget in mind.
Keep in mind that from time to time, people get really concerned over single contaminants (like Glyphosate) or categories (like Pharmaceuticals) instead of looking at the big picture. Just because something is showing up in your newsfeed doesn't mean it's in YOUR water.
PRO TIP #3
Do not hesitate to reach out to the SimpleLab team if you're unsure before ordering! Their customer service team is world class. If you're confused, they can help identify the right kit for you before you order. Keep in mind, for 9 out of 10 customers it's one of the core kits.
HOW TO TEST YOUR WATER LIKE A PRO
Step 1: Plan Ahead
Check out the box contents ahead of time! If you have a kit with a freezer bag, you will need to freeze it for 6 hours or until solid, prior to sampling.
Then create your SimpleLab Account at: gosimplelab.com/signup
Fill all containers from the same location. Each container tests for different contaminants and all such results are displayed on a single report.
Read all instructions before you begin.

PRO TIP #4
Don't forget to include the FROZEN element with your sample. Some people just drop in the freezer bag... without freezing it first. Mail the sample soon after collecting it.
PRO TIP #5
Wash your hands with warm soapy water BEFORE you begin. You want to avoid the possibility of coliform cross-contamination during sampling. Paying extra attention to where you put your hands and fingers is crucial.
Also, be sure to fill the containers from the same location. Remove any aerators from your faucet, if possible. You might choose to take the water sample from a bathtub faucet as they don’t have aerators. Keep in mind that you will be sampling the cold water. Use a low water flow when filling the containers.
Do not rinse out the containers or their lids.
Step 2: Start Sample Collection

Keep in mind...
Large bottle: first draw recommended. Fill to shoulder. Collect the sample after water has been stagnant in the pipes for 6+ hours. The water in this sample will have had time to interact with your plumbing and may reveal plumbing-related issues. Collect the sample as soon as water flows from the tap.
Small bottle: fully-flushed recommended. Fill to just below the top. Run the water for 5 minutes, then collect the sample. This will help reflect the quality of the water as it comes directly from the source.
PRO TIP #6
Incorrect water level in sampling containers. This is particularly important for volatile contaminants; the lab specifies to have NO air bubbles in the sample and filling the container to the VERY TOP for a reason. Even the smallest air bubble in the container means something like VOCs could evaporate during transit.
For other containers, like heavy metals, it's important to fill the container to the shoulder. Too little and the lab might not have enough water. Too much and it might mean trouble during testing at the lab.
Step 3: Sampling Info
Sign in to your Account: gosimplelab.com/signin
PRO TIP #7

Q: Where can I find my Order # and Report ID?
A: Both are in your Welcome Email.
Select the Report ID, click Sample Info, and complete all fields.
Complete the paper Sample Information Card and return it with the sample.
Step 4: Shipping to the Lab
PRO TIP #8
Put everything back into the box.
Place the frozen cold pack on the small bottle.
Take the sample to a Canada Post location or use the prepaid shipping label if you are in the US. Present to the postal worker with the Laboratory Shipping Card.
PRO TIP #9
Q: When will my Tap Score Report be ready?
A: 3-14 business days, depending on the testing package and your location.

Step 5: Review Your Results
For city water, you will be most concerned about 2 things in general.
- For Household water used to washing clothes, bathing, cooking and cleaning in general, you’ll be looking at hardness and chlorine or chlorine levels in your water test results.
- For drinking water, you’ll look at the same things, but also any warnings for lead, sodium, arsenic and whatever else Tapscore.com flags for you.
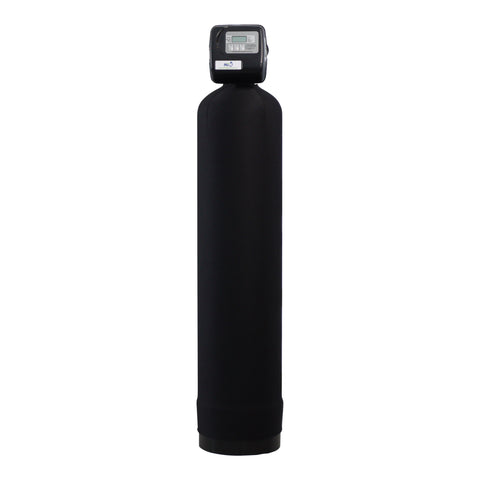
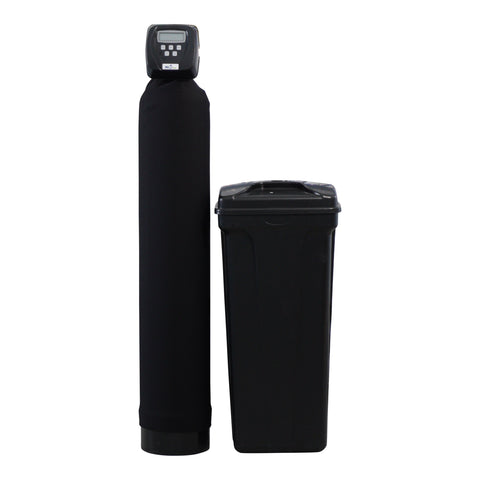
Water Treatment System Recommendations
If you’re looking for our personalized water filtration suggestions, we're here to help! Once you receive your water test results, simply email them to us at info@waterestore.com along with our completed water information sheet here and we’ll make customized recommendations as to what is needed to fix your water for your family!