


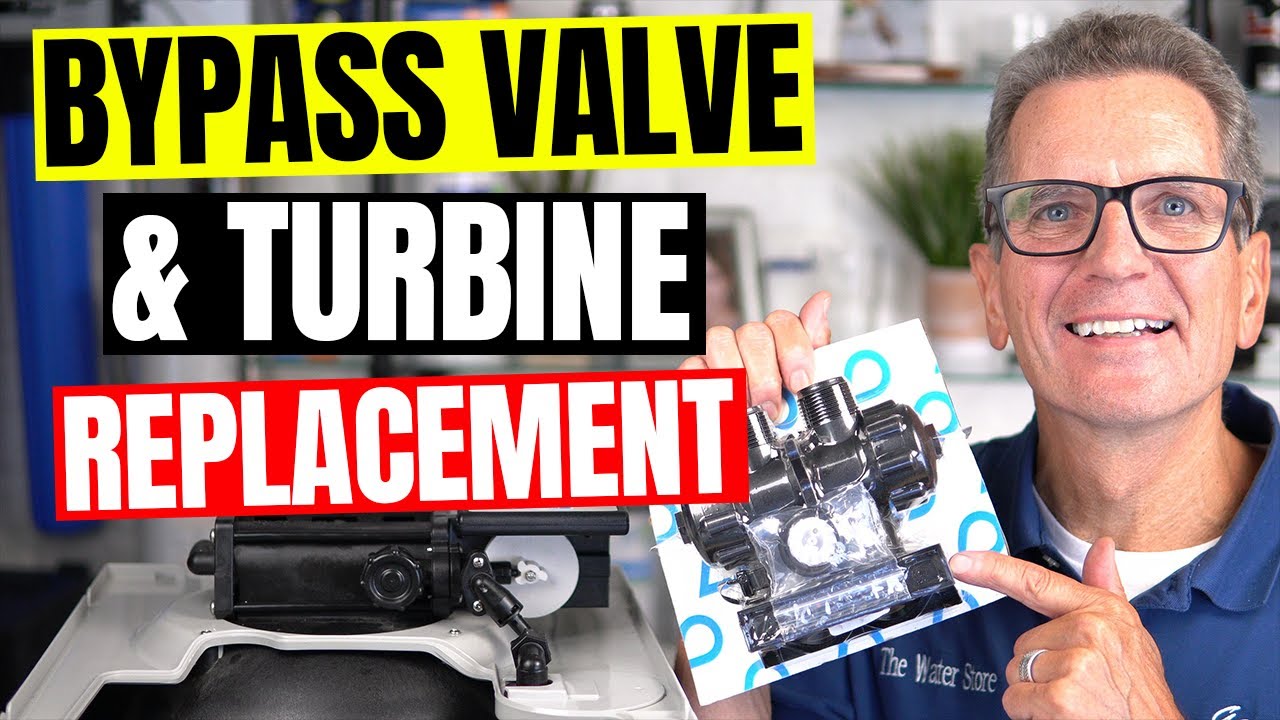
Today we're going to teach you how to replace the Bypass Assembly or turbine in your Aquamaster or WaterBoss water softener, saving you money and ensuring your softener functions smoothly! Let's dive in...
GETTING STARTED
So, your Aquamaster or WaterBoss water softener is no longer able to be bypassed because the bypass has seized or it’s leaking? Or your water softener is no longer regenerating because the turbine is stuck or compromised which means it’s no longer spinning, counting down the gallons to tell your water softener when to regenerate? Here's a helpful DIY guide to walk you through how to fix this problem at home yourself.
NOTE: If you ever need to replace the support panel, you would follow this exact same procedure. Follow this blog right to the end for all of my pro tips and tricks!
HOW TO REPLACE YOUR WATER SOFTENER BYPASS VALVE & TURBINE
-
Remove the valve cover assembly and initiate a regeneration by holding down the regeneration (REGEN) button for 5 seconds. Once you hear water running to drain, bypass and unplug the water softener. Unplug the Computer Control Assembly and remove it by sliding to the right.

- Remove the screws at each end of the DECA and disconnect the Brine Valve Assembly from the Safety Shut Off. Removing the Hex nut from the Safety Shut off inside the brine well will make it easier to remove from the Brine Valve Assembly. Be careful not to lose the O-ring and Brine Piston.
-
Slide out the DECA being careful to keep track of the two O-rings at the piston end. Remove the Drain and cap assembly and watch for O-rings.
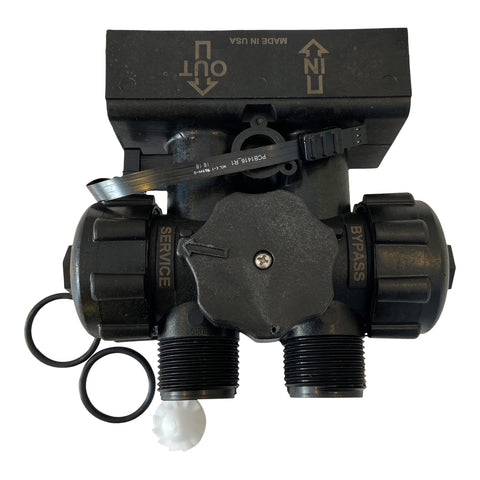
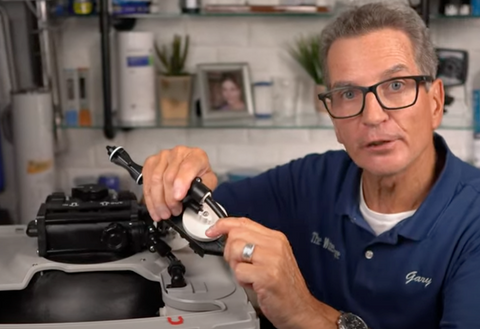
- Remove the bypass assembly being careful to not lose the turbine assembly. Check to make sure that it spins freely
 and that there is no corrosion on the magnet. If you’re replacing the support panel, this would be the time to do so. If replacing the bypass, you will need to remove it from the plumbing.
- Be sure to remove, grease and replace the O-rings on the bypass assembly before putting it back together. Be careful that you push the bypass against the valve body while you are tightening the screws on the Drive end cap and drain end cap assembly to make a water-tight seal between the bypass and the valve body.
-
Before reassembly, check and grease the O-rings on both the drive and drain end cap assemblies, the smaller O-ring should be placed on the male boss on the End Cap. When assembling the End Cap to the Valve Body, care should be taken to make sure the small O-ring is aligned with the opening in the Valve Body and that the large O-
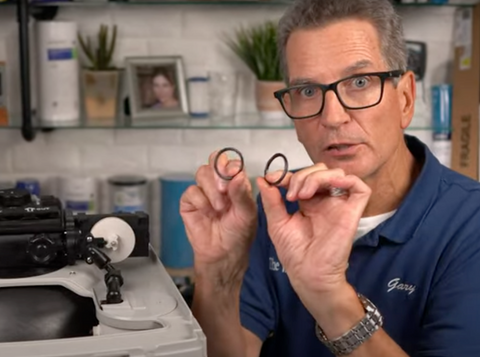 ring stays in the groove in the End Cap. If misaligned, the O-rings can become pinched and leak.
- Slide the DECA into the valve body, wiggling it slightly while sliding it in. Tighten screws.
- Reattach the Brine Valve Housing Assembly and connect to Safety Float.
-
Secure the safety float, reattach and reconnect the Computer Control Assembly, plug into wall.
- Once the valve has found home, you can slowly open the bypass valve and check for leaks.
- Regenerate water softener, again checking for leaks throughout the regeneration process.
There you have it! Whether your bypass is stuck, leaking, or your turbine is compromised, this step-by-step guide will help you fix it yourself like a pro.
>> Shop Replacement Bypass and Turbine

>> Shop Aquamaster and WaterBoss Water Softener Parts